
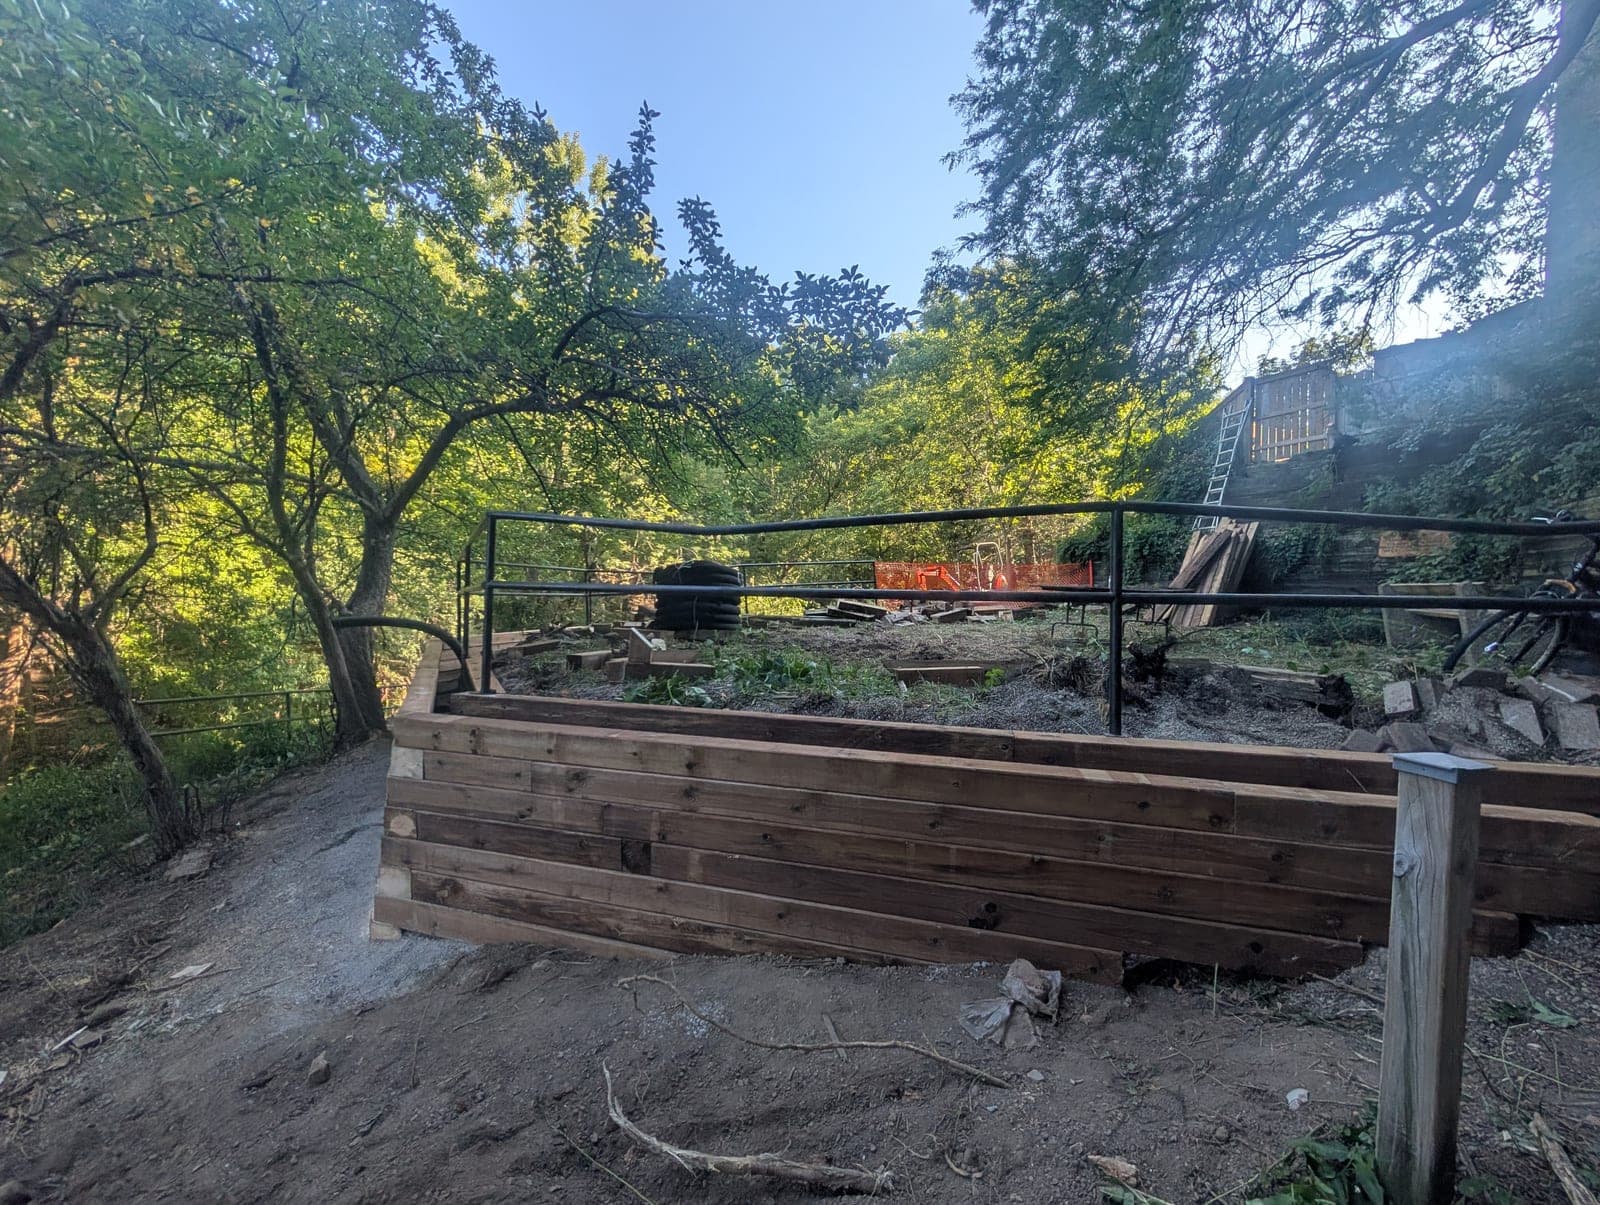
Why staining protects the wall, not just the look
A wood retaining wall left unstained faces three threats at once: repeated moisture swelling and shrinking the boards, UV breaking down the wood fibre from the surface in, and mould finding a foothold in trapped moisture. A quality penetrating oil-based stain blocks all three, which is why it extends lifespan, not just appearance.
For how staining fits into a wall's overall lifespan, see how long do retaining walls last.
It is worth separating what stain does from what it cannot do. Stain protects sound wood from moisture and UV, it does not add structural strength, correct a drainage problem, or reverse rot that has already set in. A well-staining routine on a properly built wall is what gets a timber wall close to the top of its 20 to 40 year range instead of the bottom.
When to stain a new wood wall
- Pressure-treated lumber: wait 6 to 12 months, freshly treated wood still holds preservative moisture that blocks stain absorption
- Hardwood timber: can be stained sooner, within 1 to 3 months in dry weather
- Water bead test: sprinkle water on the surface, if it beads the wood is still too wet to stain
Choosing the right stain
Retaining walls face a harder job than a deck because one side sits against soil constantly. Product choice matters more here than on most exterior wood.
- Penetrating oil-based stain is the right call, it soaks into the grain and fades gracefully instead of peeling
- Semi-transparent lets the wood grain show while still protecting it
- Solid stain gives more UV protection and colour uniformity but can peel if moisture gets underneath
- Avoid film-forming paints and surface sealers, they trap moisture against the wood instead of letting it breathe
Colour choice is worth thinking through before you buy. Darker tones tend to hide the natural grain more and absorb more heat, which can slightly extend drying but also help drive off surface moisture faster after rain. Lighter, more transparent tones show more of the wood's character but generally need slightly more frequent reapplication to keep up appearances, even if the underlying protection lasts about the same.
Preparing the wall before you stain
Clean thoroughly
Remove dirt, mildew and old stain with a stiff brush and wood cleaner. A pressure washer at 1,200 to 1,500 PSI works for stubborn buildup, kept low to avoid raising the grain.
Let it dry fully
48 to 72 hours minimum in warm dry weather. Moisture content should be under 15 percent, a moisture meter confirms this if you have access to one.
Inspect for damage
Look for split or rotted boards and loose fasteners while the wood dries. Staining over rot hides the problem, it does not fix it.
Light sand if weathered
80-grit on greyed surfaces, especially horizontal tops of boards and cap timbers that take the most weather abuse.
How to apply the stain
- Use a natural bristle brush, not a sprayer, brushing forces stain into the grain for deeper penetration
- Work top to bottom so drips land on unstained surface below rather than finished work
- Give extra coats to end grain, cut ends absorb far more stain than face grain and are the most vulnerable spot
- Let each coat soak 15 to 20 minutes then wipe excess with a clean cloth, puddled stain dries tacky
- Apply two coats on new or freshly cleaned wood, allowing about 24 hours between coats
Protect the surrounding landscape with a drop cloth before you start, and keep safety glasses and gloves on hand.
How often to re-stain in Ontario's climate
Freeze-thaw cycling and strong seasonal UV mean Ontario wood walls need attention more often than a milder climate would demand.
- Pressure-treated lumber: every 2 to 4 years
- Hardwood timbers: every 3 to 5 years
- Simple test: water should still bead on the surface, when it soaks in instead, it is time
When staining will not fix the real problem
Staining protects healthy wood, it does not correct a structural issue. If your wall is bowing, leaning, or has drainage that has stopped working, staining will make it look better while the underlying problem keeps progressing.
Read signs your retaining wall is failing to know the difference, and see retaining wall repair if a rebuild of just the affected section is on the table.
DIY versus hiring it out
Staining a small garden wall is a reasonable weekend project for a homeowner comfortable with the prep work. A longer or taller wall, especially one with significant grey weathering or areas needing repair before staining, is where hiring it out tends to pay off, since the prep work is more physically demanding than the staining itself and rushed prep is the most common reason a stain job fails early.
If you are already having us assess a wall for repair or maintenance, staining is something we can fold into that visit rather than scheduling separately.
Weather conditions that matter on staining day
Even a well-prepared wall can end up with a poor stain job if the weather on application day works against you.
- Avoid staining in direct hot sun, the surface can dry too fast for proper penetration, leaving a thin, uneven coat
- Avoid staining right before rain is forecast, most products need at least a few hours, often overnight, before they can handle moisture
- Ideal temperature range is generally 10 to 25 degrees Celsius, check your specific product's label since ranges vary
- Windy days can blow dust and debris onto wet stain, plan for a calmer day when possible
In practice, a mild, overcast day with no rain in the forecast for 24 to 48 hours is close to ideal for most oil-based penetrating stains.
Questions we get asked
How soon after installation can I stain a new timber wall?
Wait 6 to 12 months for pressure-treated lumber so preservative moisture can leave the wood. Hardwood can often be stained within 1 to 3 months, always confirm with the water bead test first.
Oil-based or water-based stain for a retaining wall?
Oil-based penetrating stain is the better choice for retaining walls, it soaks into the grain for real moisture protection and fades rather than peeling as it wears.
Can I use a sprayer to stain a retaining wall?
Brushing is better for retaining walls because it forces the stain into the grain, giving deeper penetration than a light spray coat, especially on end grain.
How long does staining take to dry between coats?
Most penetrating oil-based products need about 24 hours between coats, check the manufacturer's instructions since it varies with humidity and temperature.
Does staining fix a leaning or bowing wall?
No, staining protects sound wood from moisture and UV damage. A leaning or bowing wall has a structural problem, usually drainage or post depth related, that needs assessment, not stain.
Can you stain a wall you did not build?
Yes, we assess and maintain wood walls regardless of who built them. Call 519-914-1908 for a free look at your wall's condition.